Getting started
Your first form
Click on the "New form" icon, enter the new form's name, and choose a URL.

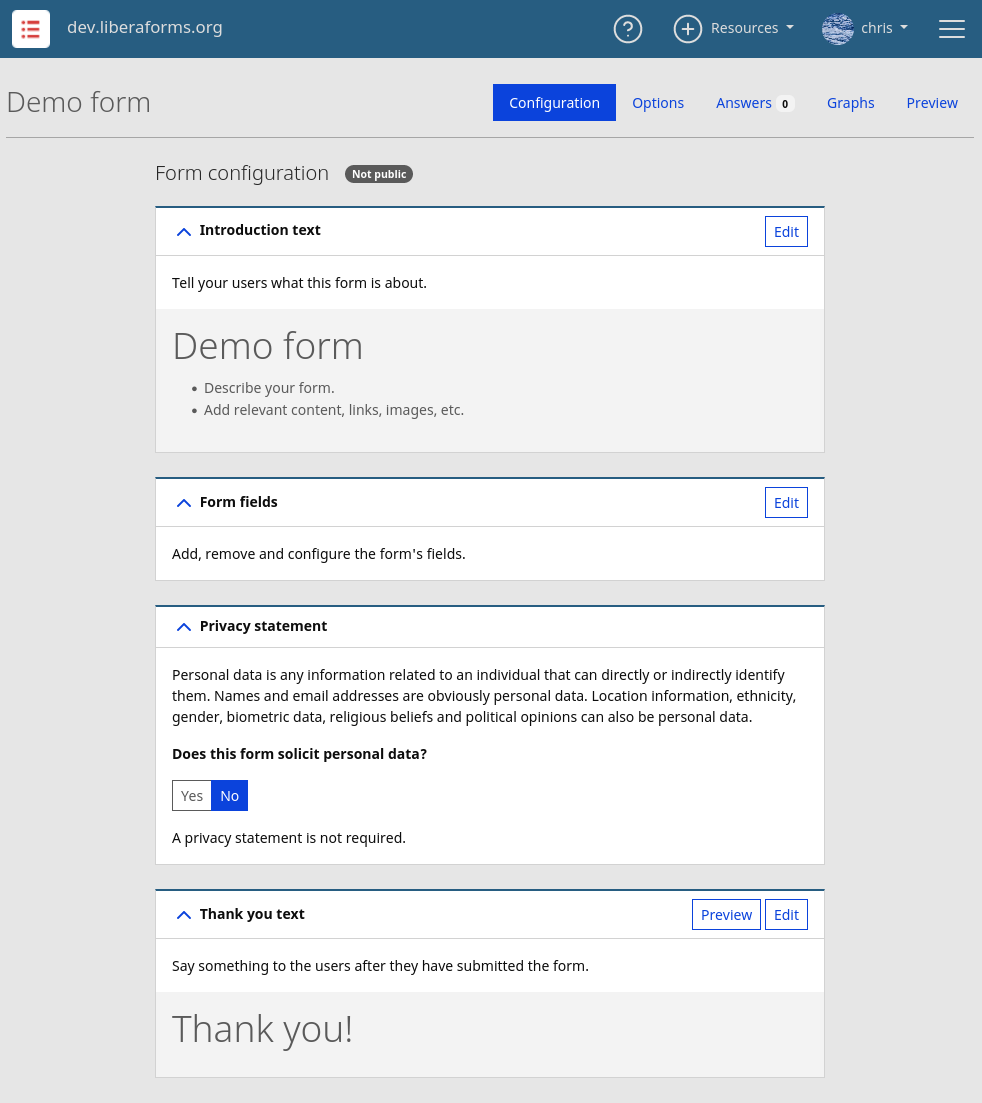
When the new form is created you see the form's Configuration page.
Configuration page
Use this page to configure the publicly visible parts of your form.
- Introduction text
- Form fields
- Privacy statement
- Thank you text
Introduction text
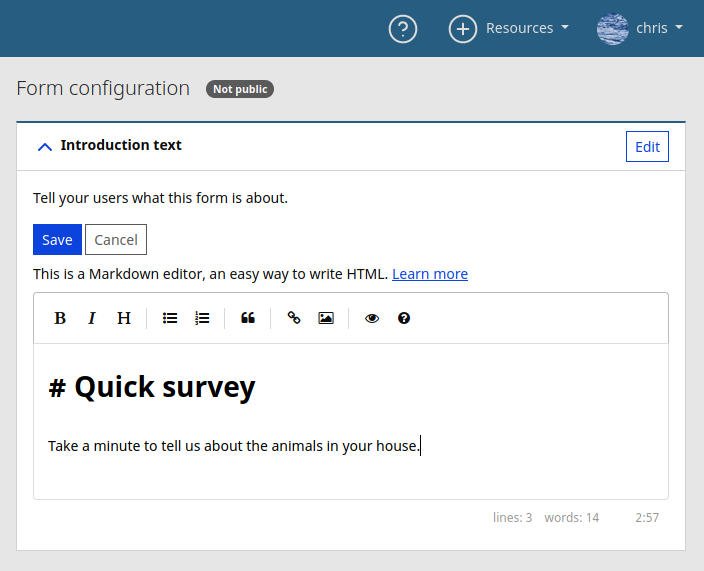
The editor may seem new at first but take a moment, it is a practical way to style HTML text. Use the 'Learn more' link.
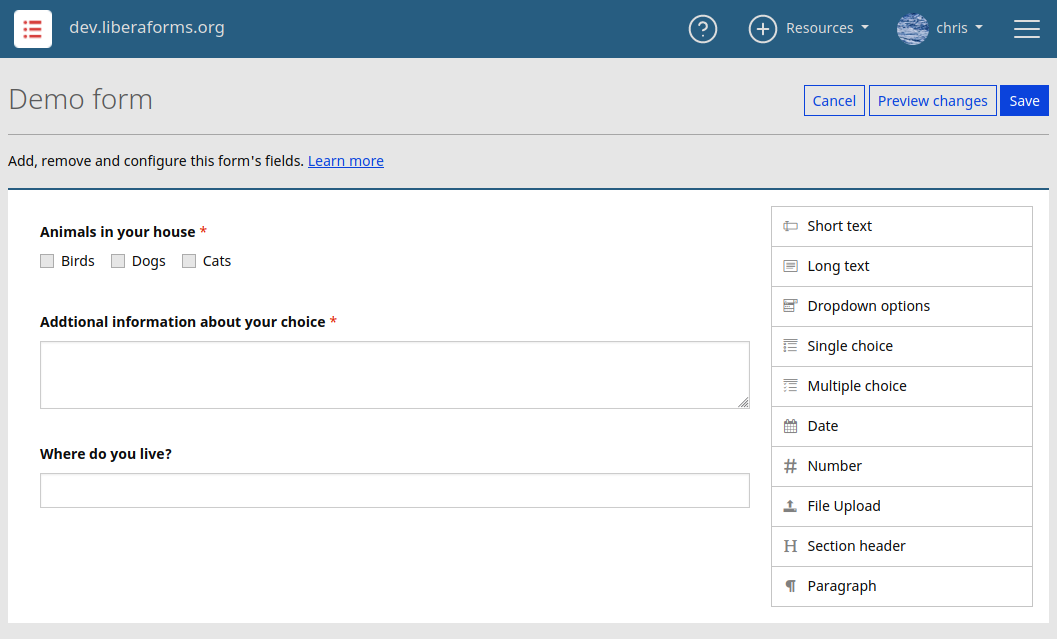
Form fields
Add, move, and edit the fields to solicit data. See the Inline help for more info.
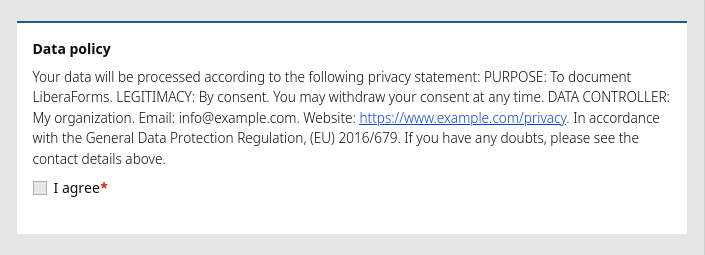
Privacy statement
If your form solicits personal information, create a statement. The wizard can help write the legal text.
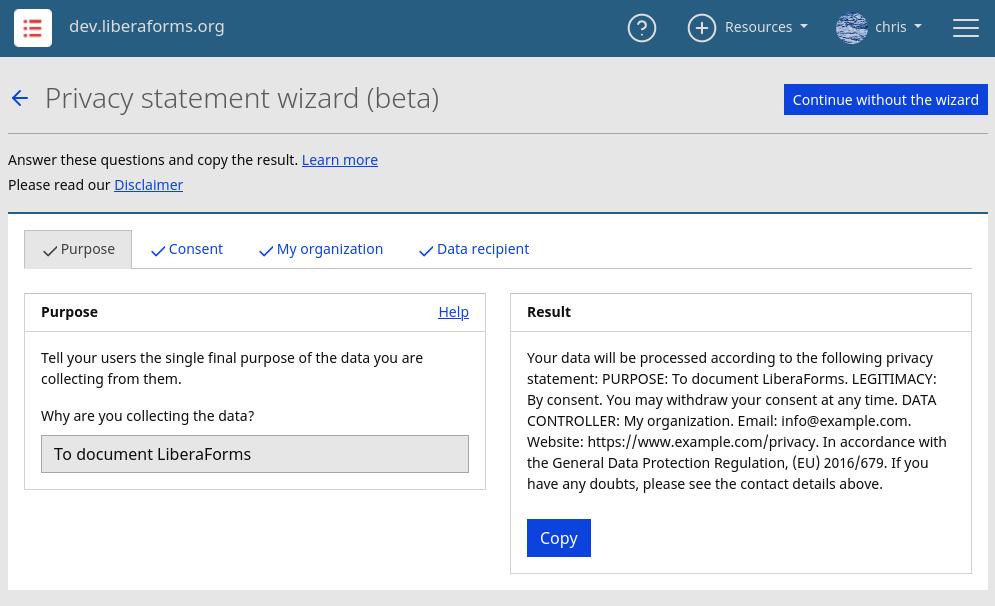
When you have answered the questions, Copy the result and finish the statement configuration.
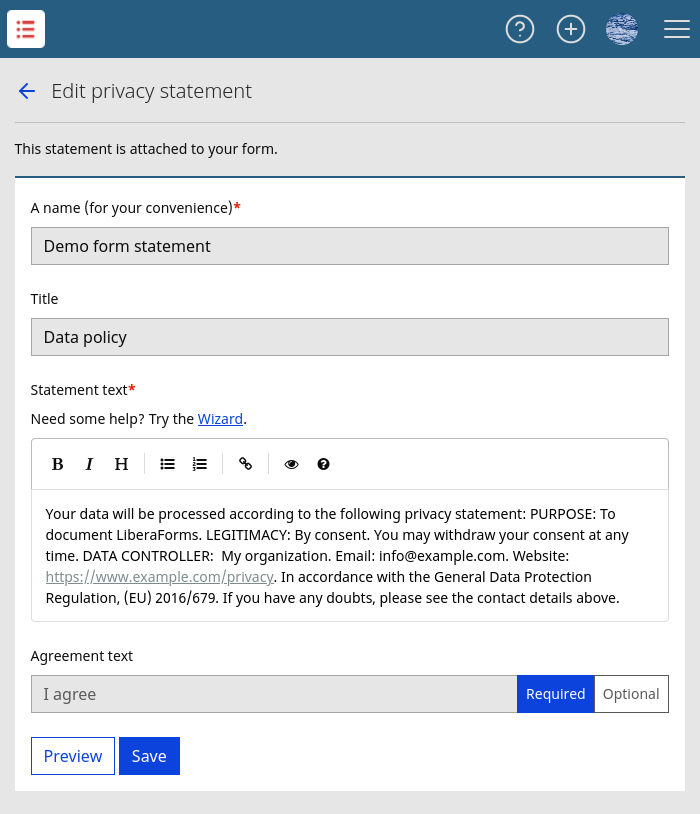
Preview the statement and save.
Form Preview
See the form as it is seen on the Internet.
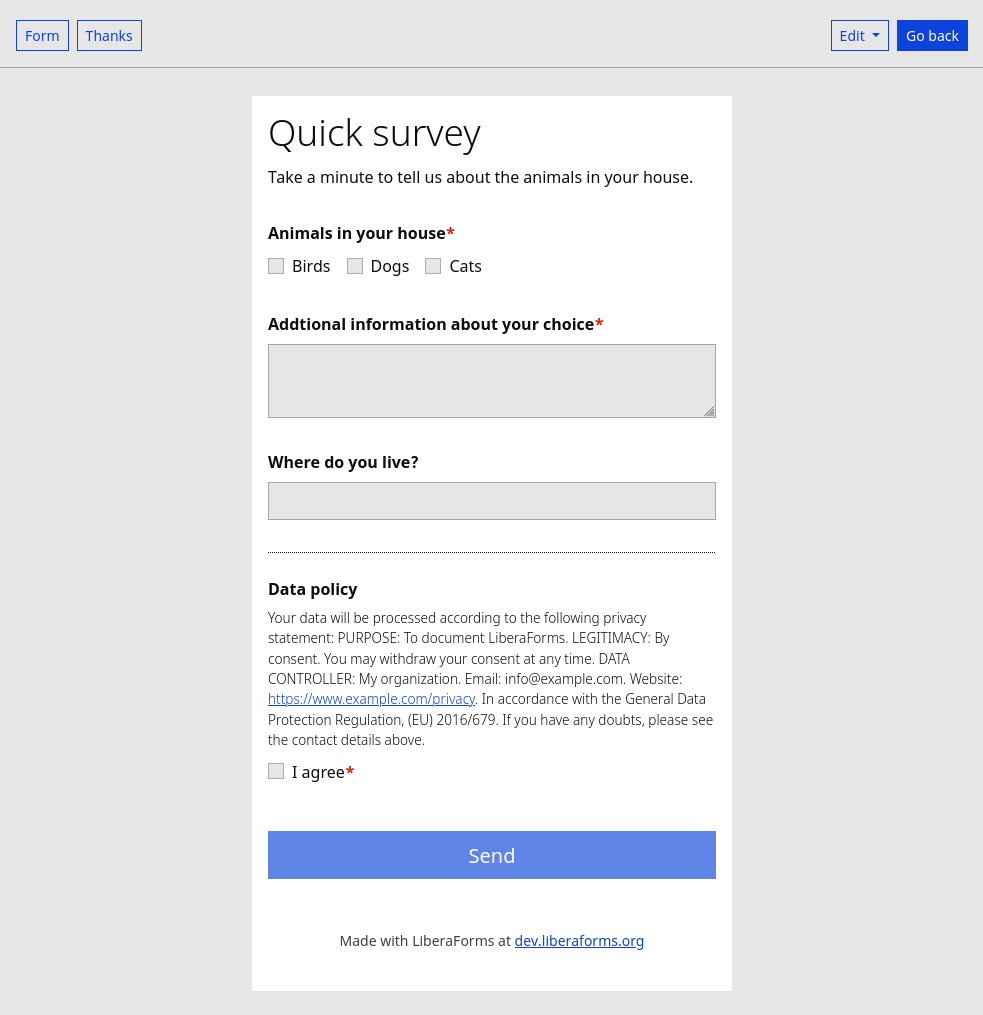
Use the "Edit" button to edit the different parts of the form, and style the form's look and feel.
Look and feel
This option lets you personalize the form with images and colors.
Publish the form
See the form's URL on the 'Options' page.
A form cannot be made public when:
- You say that the form solicits personal data, but you have not added a privacy statement
- The form has expired
- An administrator has disabled the form
Options
Publish, share, expire, delete, etc.
Use this page to manage your form.
Options are divided into categories, each explained in the Inline help.
Editing a public form
When you edit a public form's fields, the form is made temporarily unavailable. People will see a 'Come back soon' message.
You may add, edit and delete form fields.
You cannot edit form fields that have already been answered.
The answers that correspond to deleted form fields are themselves not deleted, and can be consulted on the 'Answers' page.
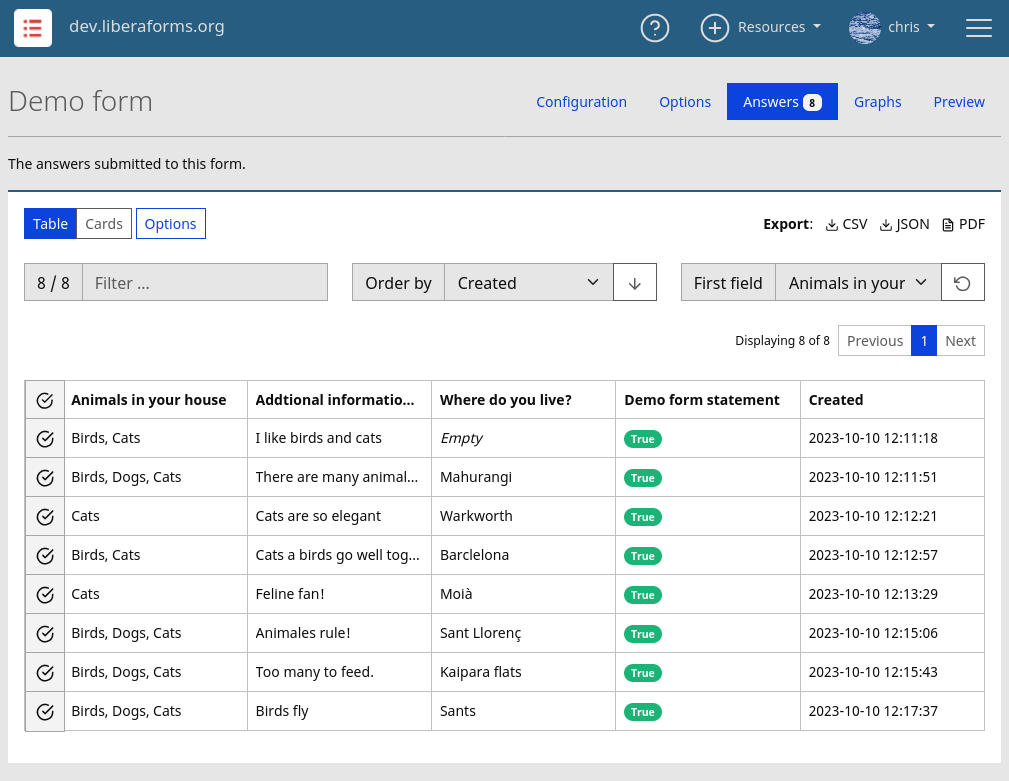
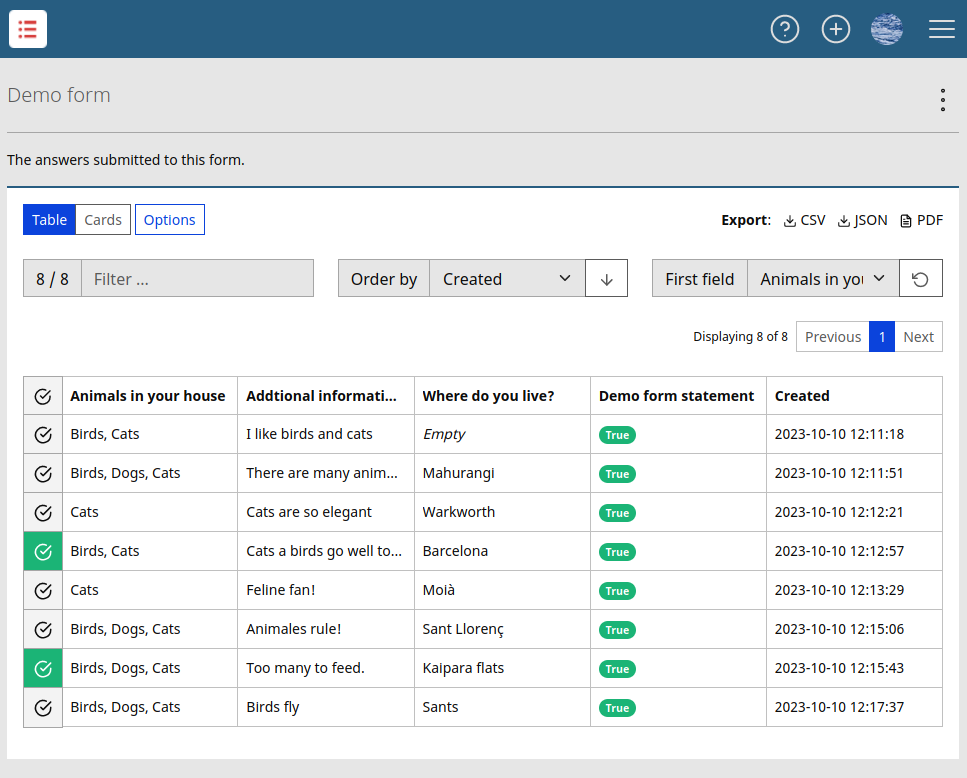
Answers
Use the Answers page to view, filter, edit, delete and export the answers
Editing answers
You may edit answers, one field at a time.

The people who answer your form can "Go back to the form and change the answers" when you enable that option.
All editions are recorded in the form's log. Follow the log entry link to see a complete history of the changes made to an answer.
Bookmarking answers
Click on the check box to bookmark answers for your convenience.
Deleting answers
When you have finished collecting data from the form, there are two good reasons to delete the answers.
-
Data protection
Unused copies of your user's data are strongly discouraged. -
Disk usage
You have a limited assigned amount of disk space. Deleting form attachments saves space.
Graphs
See graphs for:
- A chonological history of each moment the form was answered
- A graph for each numeric field
- A graph for each multi-option field